Making bows from boards is fun and effective, but what's even cooler is making a bow from a stave (an unrefined piece of wood split from a log). After I got into bow building last year I knew I had to try making bows from staves, so I went looking for a tree to cut down. Not just any tree will make a good bow. The tree needs to be hardwood, and it needs to be nice and straight. I didn't have access to any of the common bow wood trees (osage, yew, locust, ash, hard maple, oak, etc.) so I had to make do. The available trees were various conifers (spruce, pine, etc.), soft maple, and yellow birch. Coniferous trees and soft maple are really not good bow woods, so yellow birch was the only option. It's not commonly used for bows, but I read that it should work okay, so I went ahead and took down a nice straight tree about 5" in diameter.
Note: I just figured out a few days ago that I do have access to hard maple; oh well, next time.

I got two good 7' sections, and then split them in half and debarked them. I must say that splitting a log in half using axes and sledgehammers feels extremely manly and I thoroughly enjoyed it.

Note: I really should be using a splitting maul not a falling axe, but this was all I had at the time.

It's really amazing how straight a log will split.

The best way to split is to alternate between a few wedges as you move down the log.

After splitting the logs I set them aside and forgot about them (you need to let wood dry for quite a while before you can work on it). Fast forward 8 months and I've got free time, motivation, and some fairly dry staves to work on. I acquired a draw knife, which is really the ultimate tool for roughing out bows from staves, and got to work. The drawknife I bought was a cheap TimberTuff brand model, which has a poorly sharpened and strange shaped blade. However, it still works impressively well, and if I put in the time and effort with a file I could definitely even out the blade and make it a lot better. After roughing out the shape of the bow I gave it another week or two to dry, since 8 months isn't quite long enough. The bow was quite thin at this point so it dried quickly and seemed totally fine after this extra week of drying.

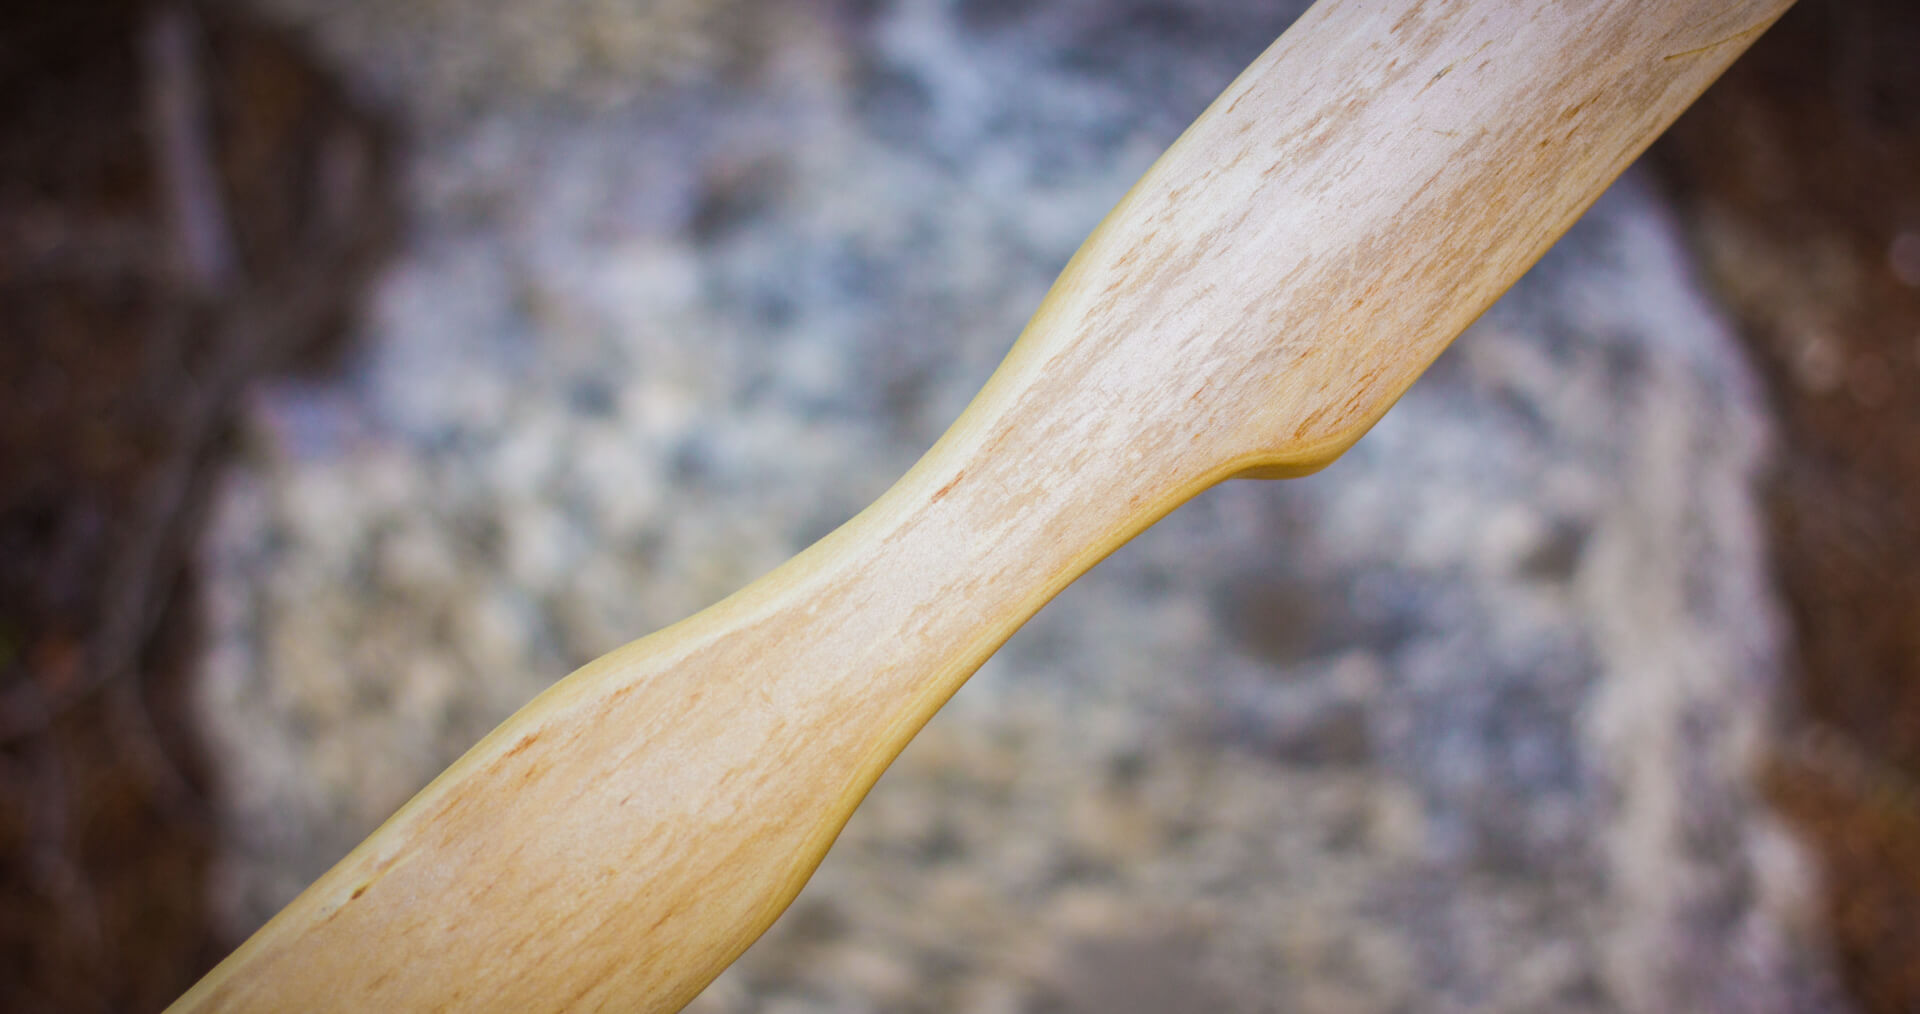
For this bow I wanted to play it safe, so I went for a 66" flatbow with a 6" stiff handle. It's 2" from the fades to mid limb, and tapers to 1/2" at the tips. I cut simple side nocks and just used the original thickness of the stave for the stiff handle. No tip overlays, no backing, and no handle lamination for this bow. I also decided not to do any heat bending, since the tips were lined up alright with the handle, albeit in a slightly crooked and propeller twisted manner.

I did all the rough tillering with the draw knife and then finished up with a card scraper. This was a great combination; I'm really starting to prefer bladed tools over sanding.

The tillering went really smoothly and I didn't run into any major issues.


The bow came out to about 40# at 28" and shoots pretty fast and hard. I finished it with some Danish oil and that was that. I don't think I'll wrap the handle since it's fairly comfortable as is and the darker heartwood at the top of the handle looks nice.


The back of the bow still has a little bit of cambium on it, which gives it a cool natural look.

Now for something new; a video of the bow in action! Try to ignore the funny faces I make when I'm trying to aim.
Builing this bow was a ton of fun, and the result was very satisfying. There's something special about creating something completely from scratch. It's cool to look back on the process, from carrying logs out of the forest to putting the finishing touches on a functional bow. Now that I've seen success and proved to myself that yellow birch is an acceptable bow wood, I'll certainly be trying some more interesting bow designs, so look forward to that!
